Build Your Own Google Docs Alternative on a Raspberry Pi NAS

We rely on Google Docs/Sheets for many reasons: its centralized storage, powerful search capabilities, simple interface, and seamless multi-user collaboration make it an invaluable tool. However, the desire for a truly private, locally hosted solution—one that eliminates dependency on the cloud—has driven the search for a powerful, self-hosted alternative.
While standard self-hosting contenders like Nextcloud or Owncloud are often too resource-intensive for a modest setup like a Raspberry Pi-based Network Attached Storage (RPi-NAS), they are often dismissed. Another excellent commercial option is using Synology Office on a Synology NAS. However, my current home setup already features a Raspberry Pi 4 serving as my NAS, utilizing an external SSD via USB 3 for high-speed storage.
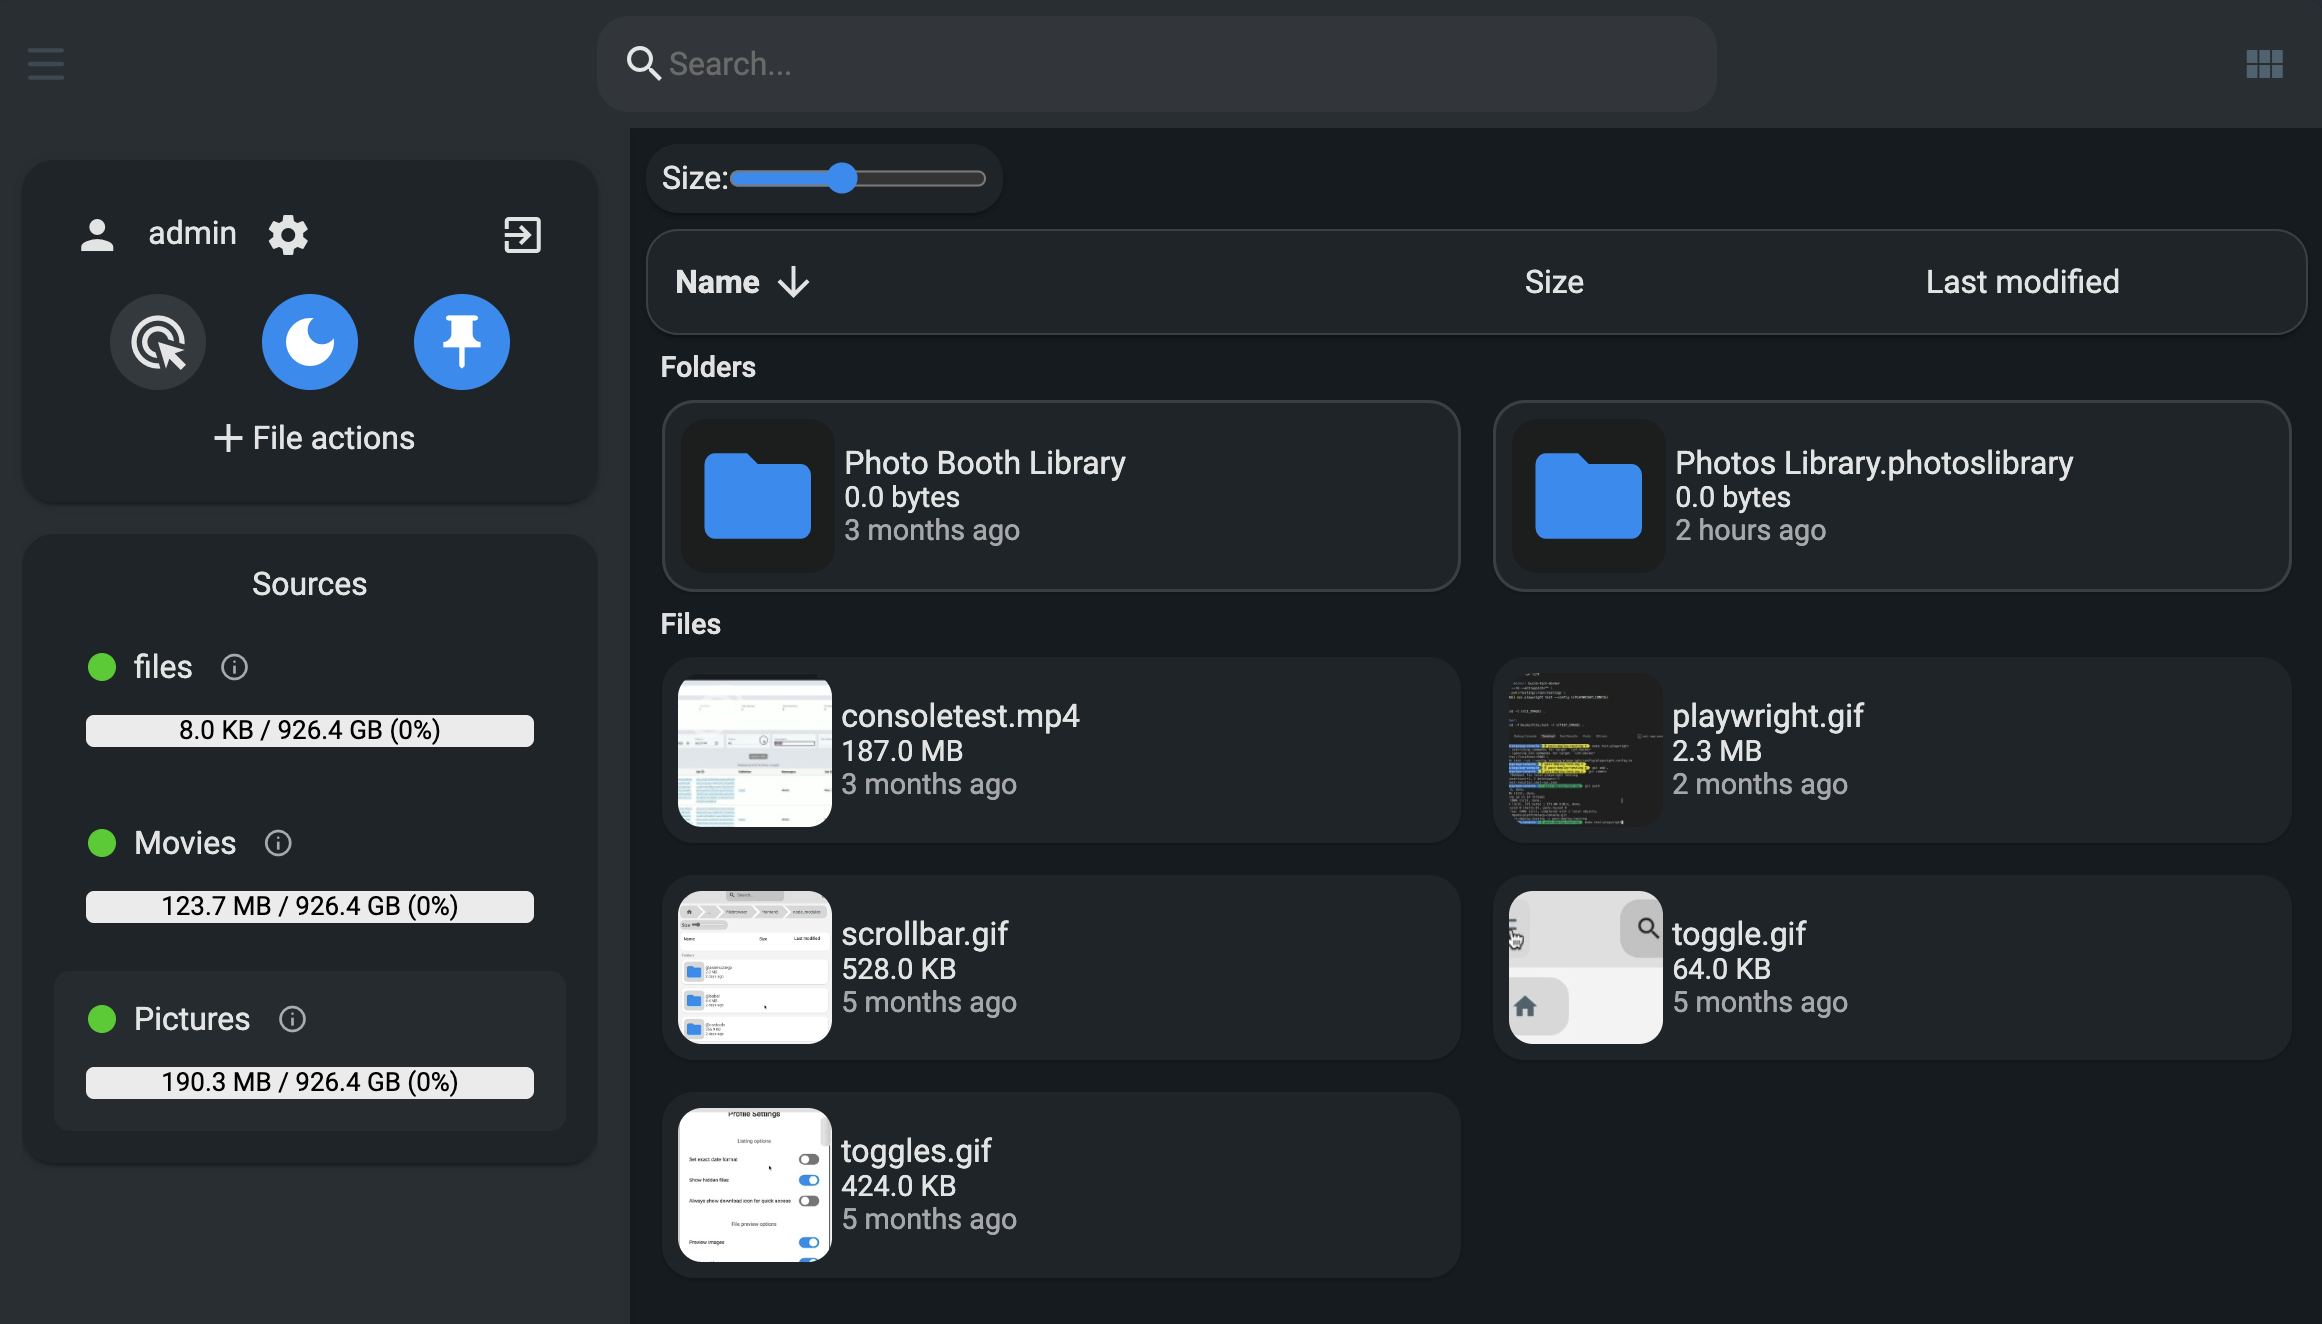
The perfect, lightweight, and powerful solution? Combining OnlyOffice Document Server with the Filebrowser Quantum front-end.
The Power Couple: OnlyOffice & Filebrowser Quantum
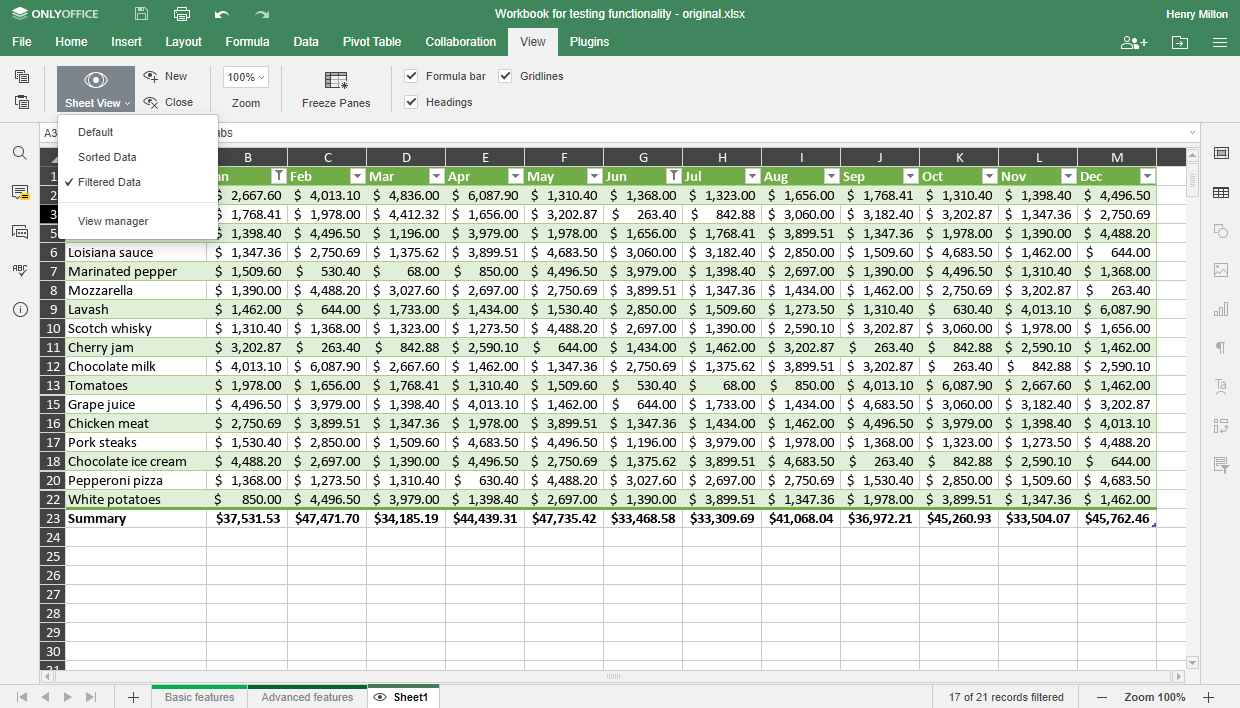
OnlyOffice is the engine—it handles all the heavy-lifting of document, spreadsheet, and presentation editing, offering near-perfect compatibility with Microsoft Office formats. However, it’s just a document server and needs a user interface to manage files and trigger the editing sessions.
This is where Filebrowser Quantum steps in.
- It acts as the file management front-end.
- It is designed to easily integrate with document editors like OnlyOffice.
- It provides the simple, clean interface needed to browse, upload, and open files.
Project Resources & Documentation
| Software | Documentation | GitHub Repository |
|---|---|---|
| Filebrowser Quantum | filebrowserquantum.com/en/docs/ | github.com/gtsteffaniak/filebrowser |
| OnlyOffice Document Server | api.onlyoffice.com/ | github.com/ONLYOFFICE/DocumentServer |
Crucially, both applications are efficient and have minimal resource demands, making them ideal for the 64-bit architecture of the RPi NAS.
Installation: Self-Hosting in a Docker Container
To ensure performance and reliability, this setup is installed directly onto the RPi-NAS, utilizing a USB-connected SSD drive. To maximize the lifespan of the SD card, the Docker environment itself is configured to use the SSD for storage.
Here is the step-by-step process for setting up your self-hosted office suite using Docker Compose.
1. Preparation on the RPi
First, we log into the RPi and navigate to the SSD, setting up the necessary folders for persistent data storage:
# Navigate to the SSD mount point
cd ssd

# Create and enter the project directory
mkdir onlyoffice-filebrowser
cd onlyoffice-filebrowser

# Create local data directories for the containers
mkdir -p onlyoffice/data onlyoffice/logs onlyoffice/lib
mkdir -p filebrowser/data
2. Configure Filebrowser Quantum
The config.yaml file tells Filebrowser how to interact with the network and, most importantly, how to communicate with the OnlyOffice server.
$ nano filebrowser/data/config.yaml
server:
  database: "/home/filebrowser/data/database.db"
  internalUrl: "http://filebrowser"
  externalUrl: "http://[YOUR.RPi.IP.ADDRESS]"  # e.g., http://192.168.5.245 - OnlyOffice callback to FileBrowser. **MUST REPLACE!**
  sources:
    - path: /files # Must match the volume mount in docker-compose.yml
      config:
        defaultEnabled: true
auth:
  adminUsername: admin
integrations:
  office:
    url: "http://[YOUR.Pi.IP.ADDRESS]:8080" # e.g., http://192.168.5.245:8080 - The external address of OnlyOffice. **MUST REPLACE!**
    secret: "Create-your-own-128bit-secret-string" # **Crucial JWT Secret**
3. Docker Compose Setup
The docker-compose.yml file defines the two services, ensuring they can communicate over an internal network and persist their data. Security Note: The JWT_SECRET must match the secret configured in the filebrowser/data/config.yaml.
$ nano docker-compose.yml

services:
  onlyoffice:
    image: onlyoffice/documentserver:latest
    container_name: onlyoffice
    restart: always
    ports:
      - "8080:80" # Default ONLYOFFICE port
    environment:
      # Use the same secret as in the Filebrowser config
      JWT_SECRET: Create-your-own-128bit-secret-string
      JWT_ENABLED: 'true'
    volumes:
      # Persistent storage for ONLYOFFICE data, logs, and certificates
      - ./onlyoffice/data:/var/www/onlyoffice/data
      - ./onlyoffice/logs:/var/log/onlyoffice
      - ./onlyoffice/lib:/var/lib/onlyoffice
    healthcheck:
      test: ["CMD-SHELL", "wget -q --no-check-certificate http://localhost/healthcheck -O /dev/null || exit 1"]
      interval: 30s
      timeout: 3s
      retries: 3
    networks:
      - default

  filebrowser:
    image: gtstef/filebrowser:stable
    container_name: filebrowser
    restart: always
    ports:
      - "80:80" # FileBrowser Quantum standard port
    environment:
      FILEBROWSER_CONFIG: "data/config.yaml"
      FILEBROWSER_ADMIN_PASSWORD: "Your-admin-password" # **REPLACE WITH A SECURE PASSWORD!**
      FILEBROWSER_ONLYOFFICE_URL: "http://onlyoffice" # Internal Docker network address for OnlyOffice
    volumes:
      # 1. Mountpoint for configuration and database
      - ./filebrowser/data:/home/filebrowser/data
      # 2. **The folder containing your documents (REPLACE THIS PATH!)**
      - /home/pi/ssd/nas/Documents:/files
    depends_on:
      - onlyoffice
    networks:
      - default

networks:
  default:
    # Creates an internal Docker network for container communication
4. Launch and Verify
Start the entire stack with a single command:
docker compose up -dYour self-hosted document suite is now accessible! (Replace [YOUR.RPi.IP.ADDRESS] with the actual local IP address of your Raspberry Pi):
- Filebrowser Quantum (The UI):
http://[YOUR.RPi.IP.ADDRESS] - OnlyOffice Document Server (The Engine):
http://[YOUR.RPi.IP.ADDRESS]:8080
For monitoring or troubleshooting, you can view the live logs of both containers:
docker compose logs -f filebrowser onlyofficeNeed to make a change? A simple restart gets you back up and running:
docker compose down && docker compose up -dThis setup delivers the core functionality of Google Docs—centralized, searchable, multi-user document editing—all on your own hardware, giving you complete data sovereignty without sacrificing performance on your Raspberry Pi NAS.